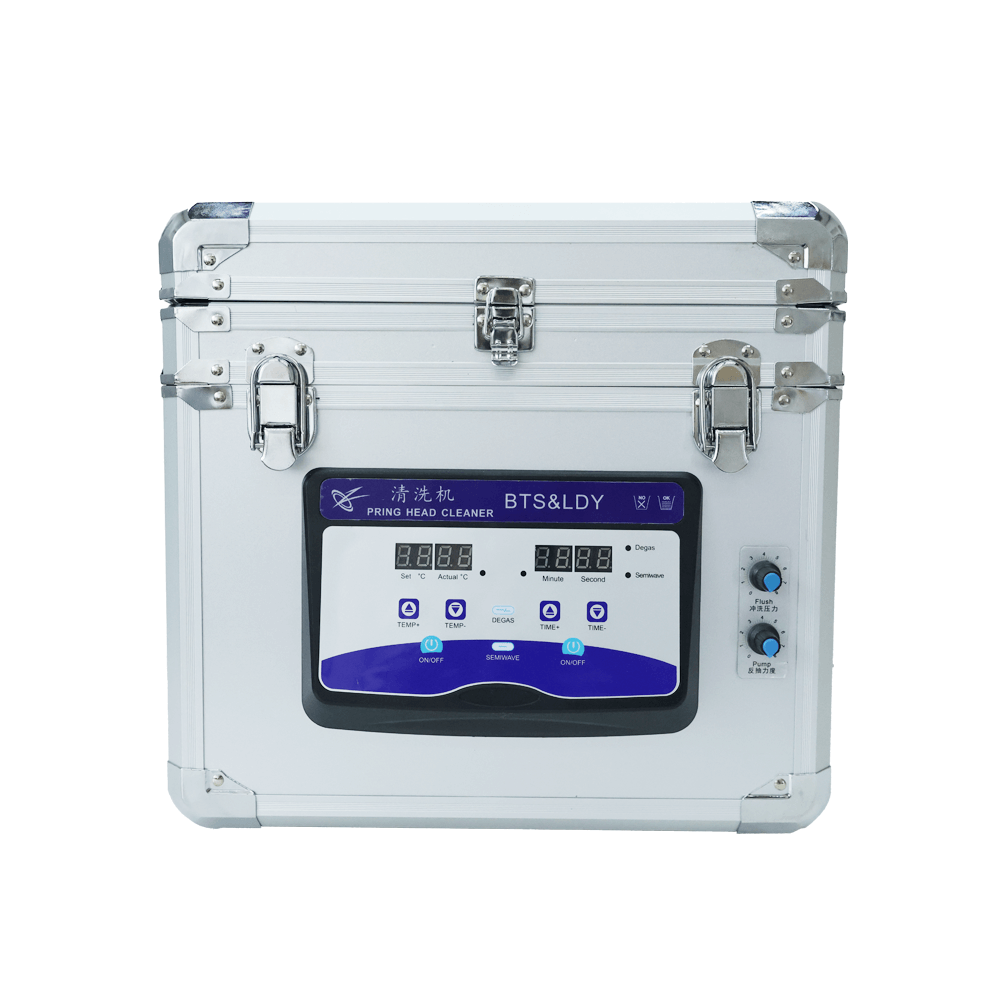


¢Ù: Actual Temp display
¢Ú: Set Temp display
¢ۢÜ: Ultrasonic time display
¢ݢޢߢà: LED indicator
¢á¢â: Ultrasonic opening time setting key
??: Ultrasonic working time display
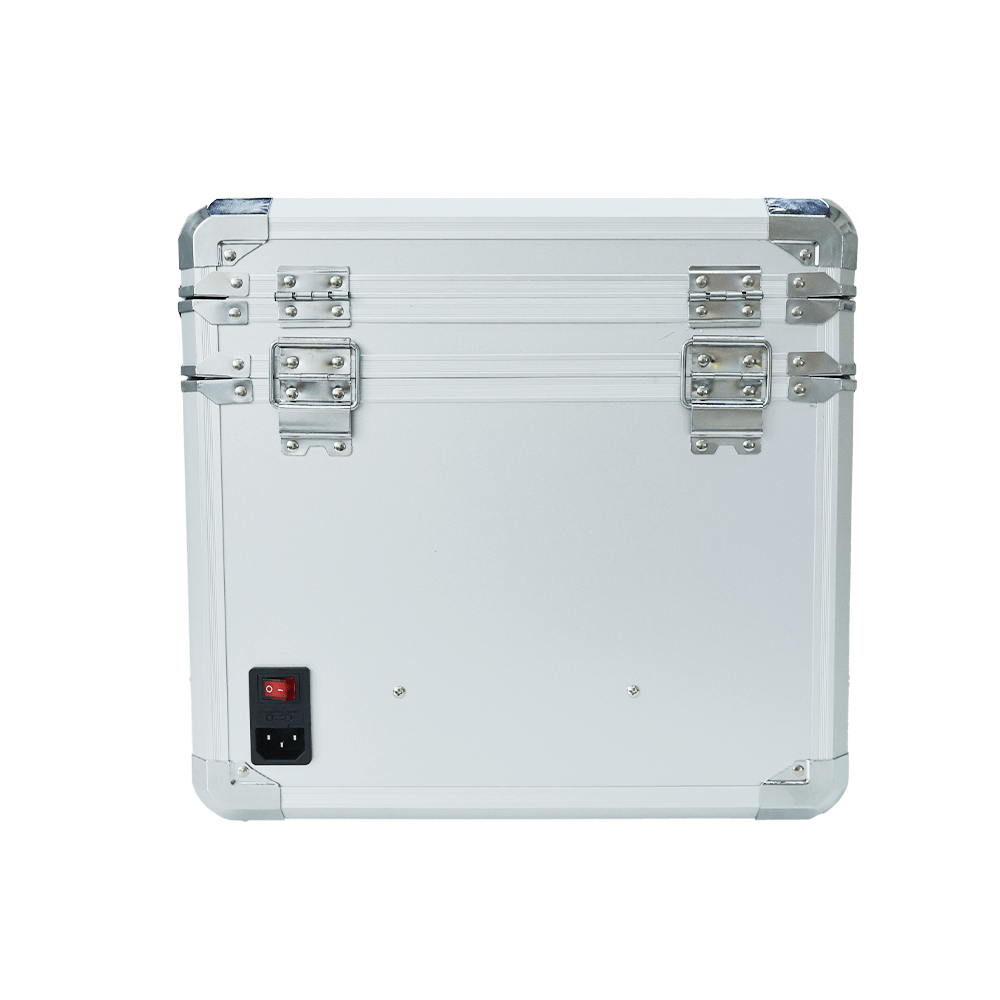
?: Heating switch (The heating temperature 0~80 ¡æ)
?: Ultrasonic switch (120W)
?: Ultrasonic switch to eliminate air bubbles.
?: Ultrasonic switch (60W)
??: Liquid flow control knob
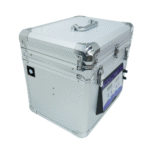
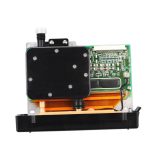
Kyocera Printhead Ultrasonic Cleaning Machine Specifications:
1) Ultrasonic Frequency: 60W/120W/40Hz
2) Voltage of the power supply: 110V/220V/50Hz
3) Input Power: 230W
4) Heating Temperature: 0~80¡æ
5) Ink Pump Power: 15W
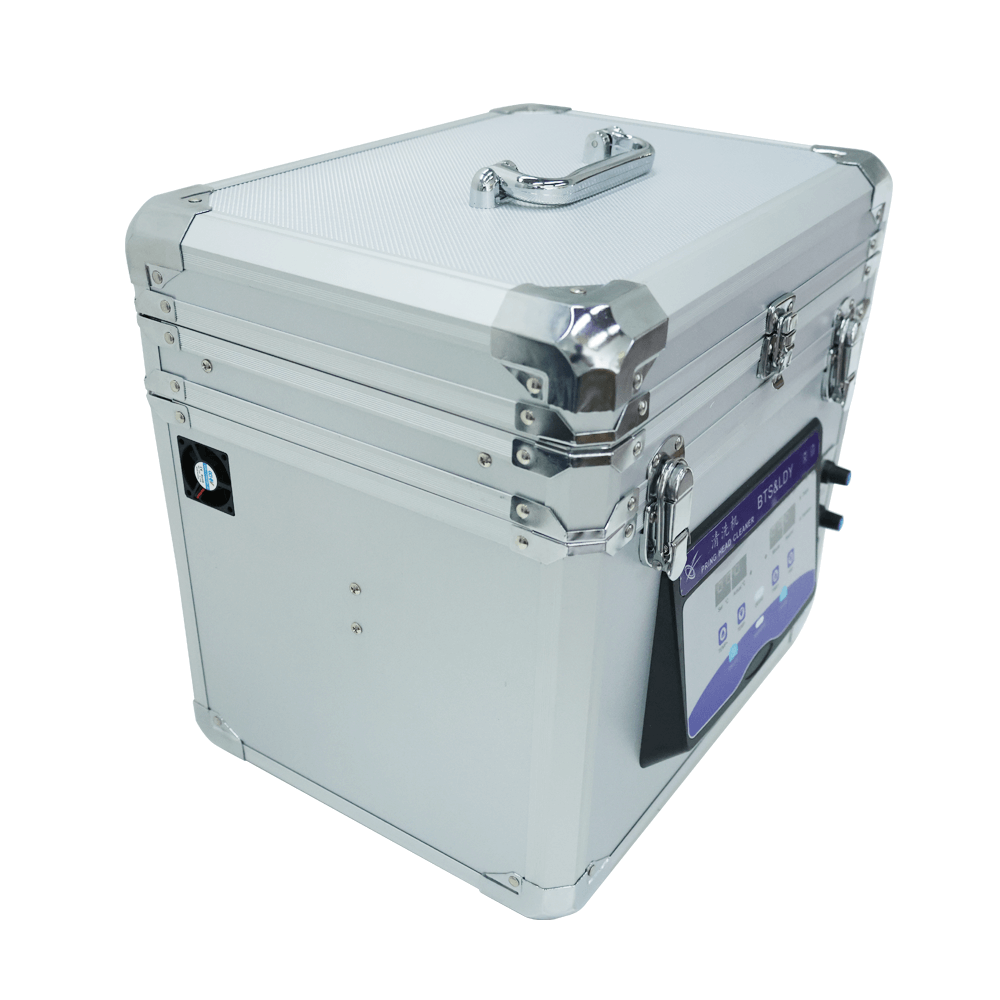
Kyocera Printhead Cleaning Machine ¨C Operating Procedure
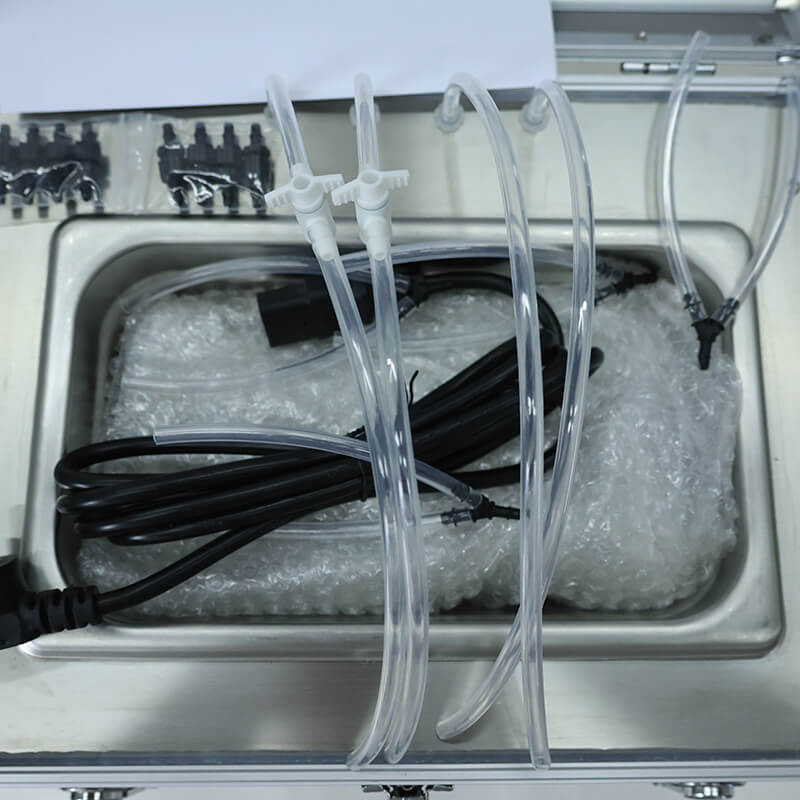
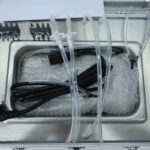
Step 1 ¨C Open the machine cover
Lift the top cover to access the ports. The two ports on the right are designated for pipeline flushing, while the two on the left are for reverse-flow cleaning. Remove the bracket.
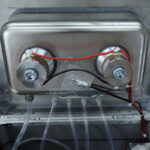
Step 2 ¨C Prepare the internal storage tank
Open the second-layer compartment. Pour in roughly half a tank of cleaning fluid, secure the lid, and close the compartment.
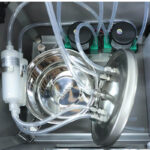
Step 3 ¨C Fill the cleaning tank
Add cleaning solution to the cleaning basin until it reaches the height of the overflow outlet.
Step 4 ¨C Set up the flushing line
Place the flushing hose into the cleaning basin. Adjust the flushing control so the pipeline is pre-rinsed with cleaning fluid before attaching it to the printhead. Mount the printhead onto the fixture.
Step 5 ¨C Adjust printhead immersion depth
Raise or lower the printhead bracket, ensuring the nozzle surface sits about 2 mm below the liquid level in the tank.
Step 6 ¨C Tune flushing and backwash pressure
Gradually open the flushing and backwash valves. Lift the printhead slightly by hand to check if cleaning fluid drips from the nozzle.
Light cleaning: open ~1/3 of the flushing valve
Standard cleaning: flushing at half-open, backwash at ~1/3
Heavy cleaning: increase flushing pressure moderately, avoiding long-duration high pressure to protect the nozzle
Step 7 ¨C Start heating
Fill the cleaning tank until the liquid level approaches the outlet port. Set the heating temperature and begin warming. A person must remain on-site during heating. As the solution can evaporate, refill when necessary.
Step 8 ¨C Ultrasonic cleaning settings
Run ultrasonics in 1-minute cycles, with a maximum of 2 minutes per activation. Maintain an interval of 3¨C10 minutes between activations. Do not run cycles consecutively, and do not exceed 15 total activations.
Step 9 ¨C Check cleaning effectiveness
After about 30 minutes of operation, lift the printhead and gently bend the return tube to observe how the cleaning fluid exits the nozzle. Use this to determine whether additional cleaning is needed.